This is one of my oldest posts, but it has been updated as of June 29, 2021 to be more relevant to Facebook’s current steps for creating a page. Hope it helps!
Creating a Facebook fan page for your blog can be anxiety-inducing, especially if you’re trying to keep your real identity separate from your blogging identity. However, it doesn’t have to be complicated – once you see how easy it is, you’ll be ready to get social!
First of all, let me tell you that it’s okay to be logged into your personal Facebook account when you create your fan page. When I made my first one, I was terrified that my last name, personal profile, or other information would be linked to it. After setting it up and testing it from my son’s profile, though, I learned that I was worried for nothing. If you set it up with a different email address, it will be much more difficult to manage because of all the logging in and out.
Second, while some people like to set up a regular Facebook profile with their blog name, it’s better to set up a fan page. That way your fans can “like” your blog without having to add you as a friend, and the page functions will be easier to control.
Okay, with those tidbits out of the way, here’s what you do:
1. Go to https://www.facebook.com/pages/creation/ to get started. You’ll see a screen like this (though perhaps lighter if you aren’t using dark mode):
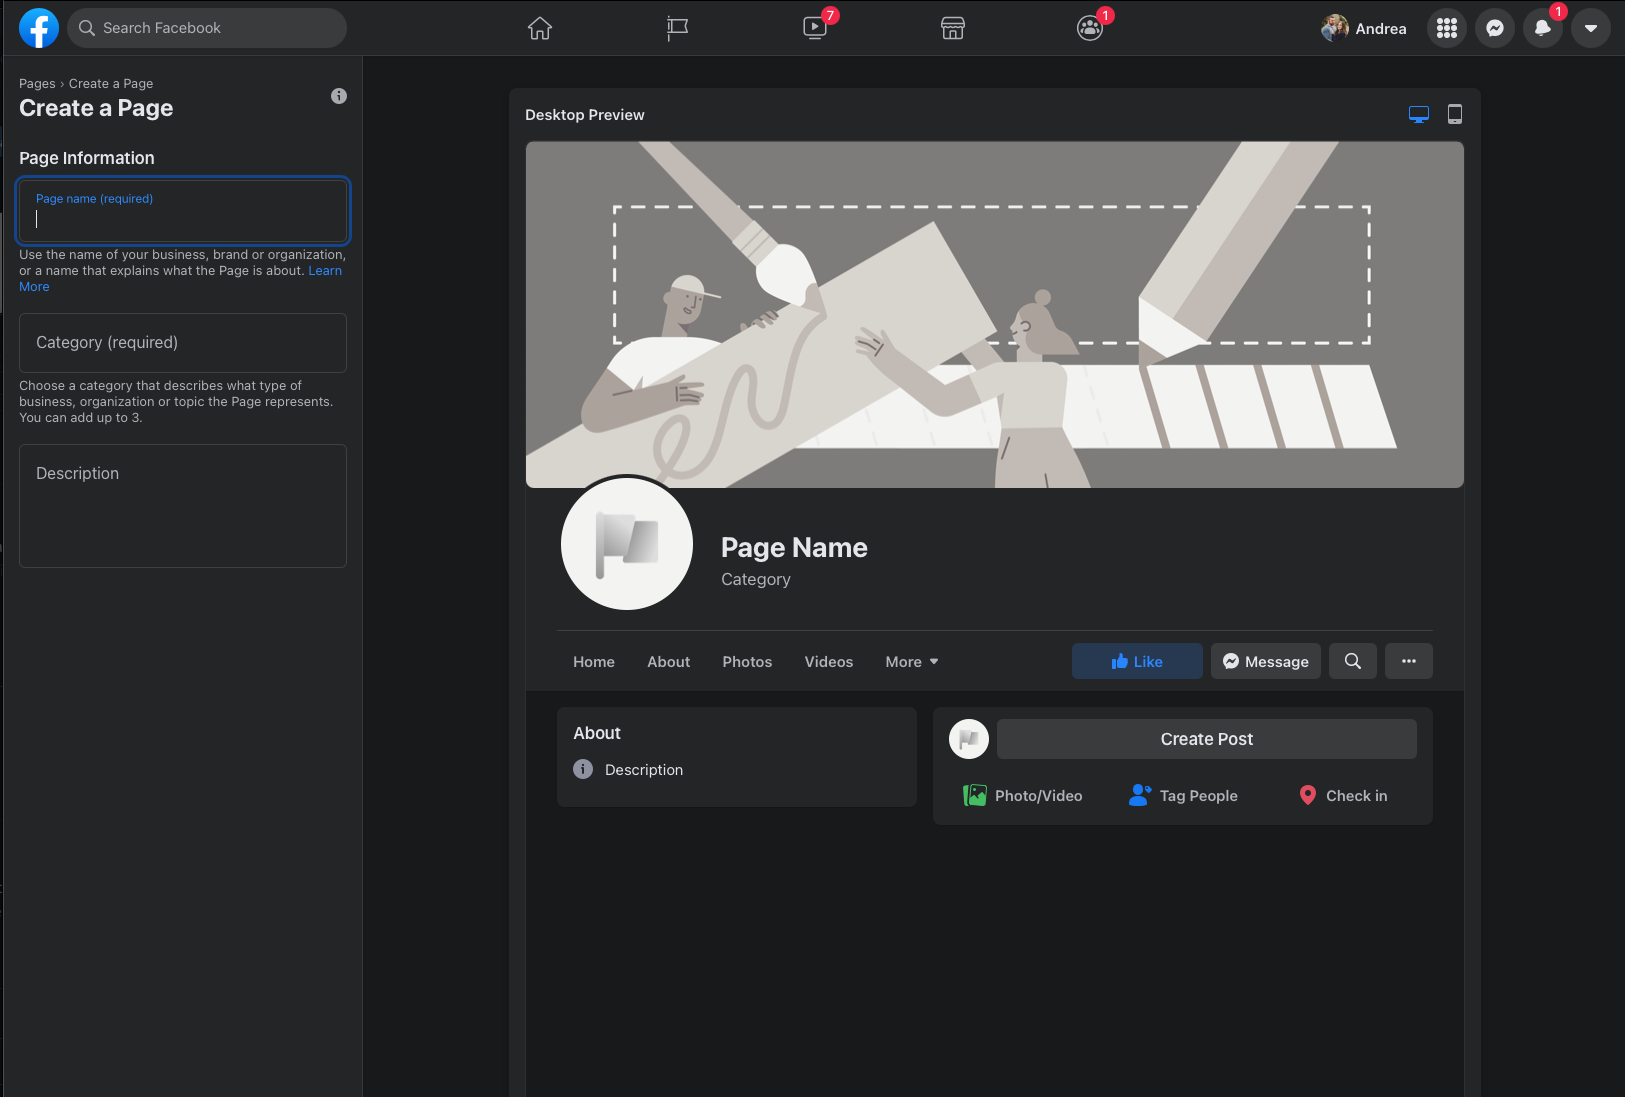
2. Enter your desired page name, choose a category, and add a description on the left side of the screen:

Facebook’s categories change constantly, so it’s hard to tell you which option you should choose. I selected Entertainment Website for this example but you may need a different option depending on what type of website or blog you have.
3. Click the Create Page button on the lower left.
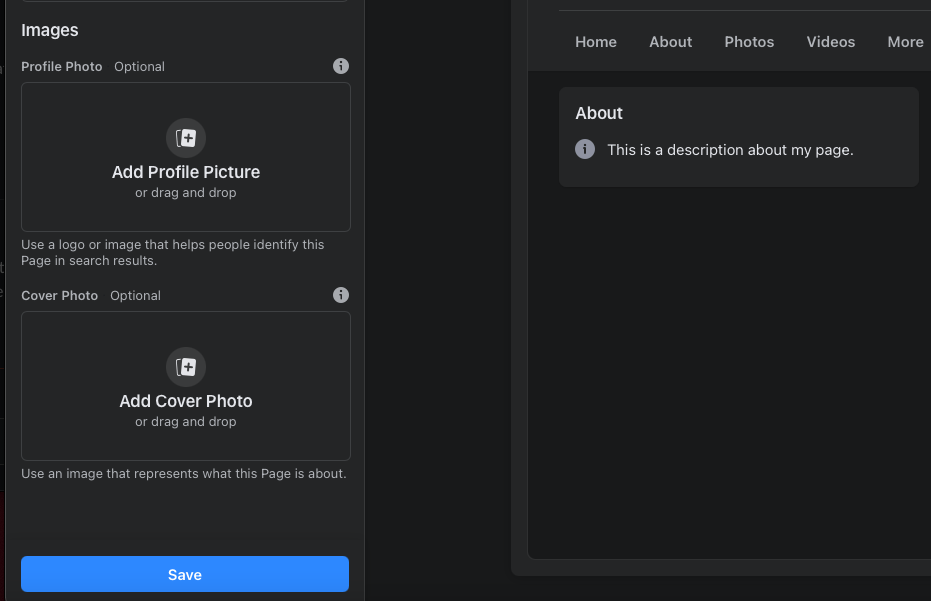
4. Next you’ll be prompted to upload a profile picture and/or page cover photo. If you have a logo, this would be a good time to upload it. If you don’t, feel free to skip this step – you can always add pictures later.
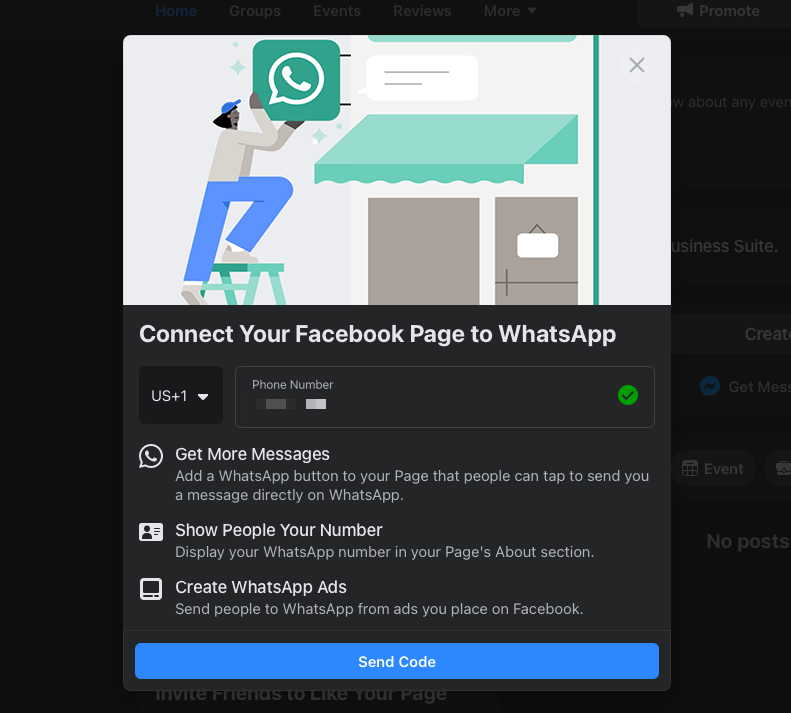
5. Dismiss WhatsApp modal? The next thing I saw was a modal prompting me to connect to WhatsApp, which must be new. I just clicked the X in the top right corner to get rid of it, but feel free to connect if you are a WhatsApp fan!
6. Finish setting up your page. From here your page is set up! You’ll see a number of prompts to add more information, invite friends to like your page, etc.
7. Be sure to set your @Username! Under your page title, you’ll see a link to create a username. This makes your page URL facebook.com/whatever/ instead of a long string like facebook.com/random-words-493540395830/ so it’s definitely important.
8. You’re all done! There are some other things you’ll need to do, like mention your Facebook fan page on your blog, with a link or button so people can go “like” it, but other than that, your fan page is all set up and ready for you to post.
Leave a Reply